



My first cut list was a stack of printed pages with coffee stains on them. By lunch, half the lines were crossed out, and two operators were arguing about which version was current. That was the day I started looking at cutting list software.
I made a few mistakes before I got it right. Here is what happened, what worked, and what I’d do differently.
The Problem: A Cut List Is Not a Production Plan
A cut list tells you what parts you need. It doesn’t tell you how to cut them from the stock you actually have, in what order, or how to keep scrap low.
In our furniture shop, that gap showed up everywhere:
- Operators picked their own cutting order, so results varied
- Good boards became offcuts because nobody planned around them
- Rush orders scrambled the whole day
- Re-entering numbers caused typos
I thought I had a labor problem. I had a planning problem.
What I Tried First (And Why It Failed)
My first fix was a spreadsheet. I sorted parts by length, color-coded the rows and felt pretty smart for about two weeks.
Then a customer changed a dimension mid-order. Someone updated the sheet, someone else didn’t, and we cut forty parts to the old size.
Lesson #1: A spreadsheet stores a list. It doesn’t plan a cut.
Step 1: Get Your Data Clean Before Any Software
Before I touched any tool, I spent a Saturday cleaning my part data. I know that sounds boring, but this step saved me later.
Here is what I fixed:
- Standardized part names and materials
- Confirmed every length was in the same units
- Added kerf allowance so the math matched reality
- Removed duplicate entries from old jobs
Skipping this was my second mistake. Cutting list software only plans as well as the numbers you give it.
Step 2: Choose Cutting List Software That Talks to the Saw
My biggest realization was that software on a desk is only half the answer. The plan has to reach the machine, or someone will retype it.
I started looking at optimizing saws, which take a list of parts and work out the best way to cut them from your stock. The RazorOptimal pocket hole saw system was one of the setups I studied, because it combines cutting and pocket hole work, which matters in furniture and face frame production.
When you evaluate any option, ask:
- Does it import my existing cut lists?
- Does the plan go straight to the saw?
- What happens when a job changes mid-run?
Step 3: Handle Defects Without Wasting Good Lumber
Real lumber has knots, splits and stains. A plan that ignores them is just a theory.
I learned about crayon defecting, where operators mark defects on a board so the system can cut around them. That fit our shop, because our stock quality varied by delivery.
If you’re comparing options, check how each handles defects. This is where a lot of the real savings live.
Step 4: Look at the Software Experience Itself
I had assumed all cutting list software was about the same. It wasn’t. Some screens made my operators’ lives easier, and some made them miss the old paper.
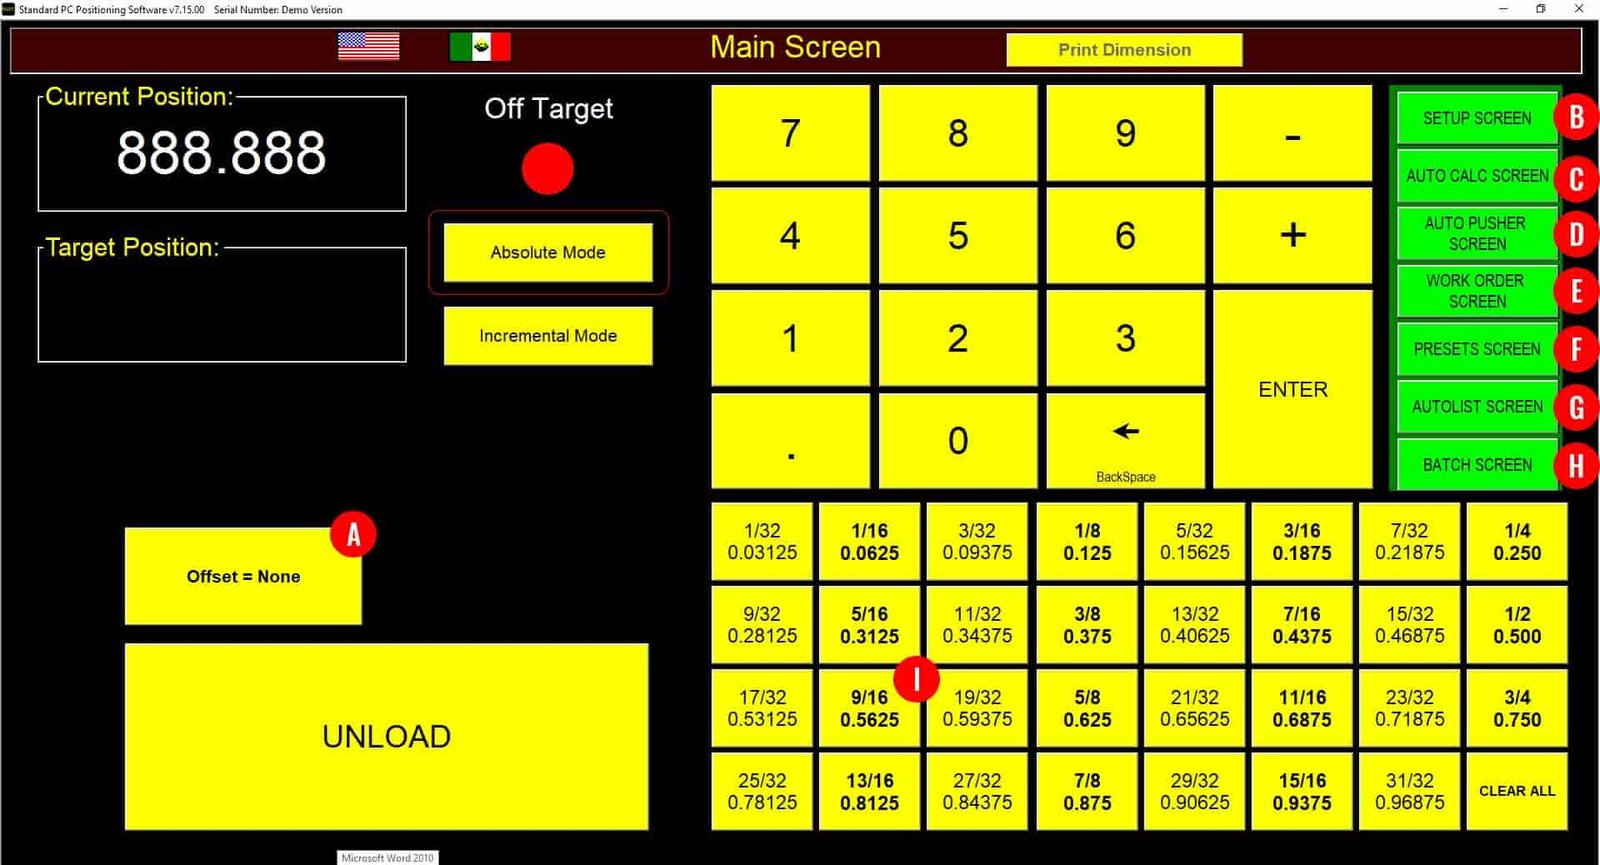
I paid attention to how easy the interface was to read at a glance. I found RazorGage’s better software page useful for knowing what to ask about, even when comparing other brands.
My test was simple: could a new operator run a job after a short walkthrough? If not, I moved on.
Step 5: Reduce Manual Handling Around the Cut
Even with a perfect plan, we were losing time moving stock by hand. That’s when I explored the auto pusher system as a way to cut down the lifting and pushing.
A good plan plus less handling meant steadier cycle times. It also meant tired operators made fewer mistakes late in the shift.
Step 6: Verify Accuracy Before You Trust the Plan
A great plan still fails if the saw’s measurement drifts. I covered why this matters in another post on how a saw measuring system saves you money.
I also wrote about getting more accuracy from your cutting equipment, which covers what to check before you blame the software.
My Mistakes (So You Can Skip Them)
- Switching everything at once. I should have started with one product line.
- Ignoring operator feedback. The people at the saw spotted problems first.
- Trusting the software without checking the first parts. Always measure your first cuts.
- Forgetting stock tracking. The plan is only as accurate as your inventory.
The Result
After a few weeks, our days felt calmer. Rush orders no longer wrecked the schedule, offcuts were easier to reuse, and fewer parts got re-cut. I’m not going to invent a percentage for you, so measure your own scrap before and after.
Final Thoughts: Getting Started With Cutting List Software
If your cut list lives on paper or in a spreadsheet, you’re doing the planning in people’s heads. Cutting list software moves that work into a repeatable system, especially when it connects directly to your saw.
Start small, clean your data and test with a single job. If you’d like help figuring out what fits your shop, request a quote or contact the team.
FAQ
What is cutting list software?
It takes your list of required parts and plans how to cut them from available stock, aiming to reduce waste and save time.
Is cutting list software worth it for a small furniture shop?
Often yes, especially if waste, re-cuts or planning time are costing you. Start with one job type to test it.
Can cutting list software connect to my saw?
Some systems send plans directly to an optimizing saw. Ask any vendor how the handoff works.
Do I still need to check measurements?
Yes. Software can’t fix a drifting saw, so verify your first cuts and calibrate regularly.
How do I handle defective lumber in the plan?
Look for a system that supports defect marking so it can cut around problem areas.
Contact Us
Address: 57006 241st Street, Ames, IA 50010
Phone: 515.232.3188
Email: sales@RazorGage.com